Saturday, December 27, 2014

Great+grandma

I've been watching tons of videos to learn how to use my Explorer.  I've got the basics down and now trying to learn to design in Design Space.   I typed heart in the search box and different images came up from different carts.  I sized them to the size that I thought would look good.  I tell more after I post the picture.

The back ground paper was in my stash so I'm not sure where it came from.  I cut the Great-Grandma out 3 time 2 in white and 1 red and popped it up. I cut the heart out and then cut the shadow out in white. The picture I cropped so it would fit in the heart.  I cut the dear to my heart out and popped it up also.  I found a picture that I liked of Great-Grandma Ruby and added to the LO.  I will be entering this in the HIMCR challenge this week    http://www.hidinginmycraftroom.com

Thanks for looking and comments are allowed.  LOL  
Have a great Sunday and Happy New Year.

Saturday, December 20, 2014

Christmas LO

First off I want to tell you that this is NOT my idea.   Diane Kielman from http://exploringcricut.blogspot.com made this 2 page LO  and I fell in love with it.  I did everything on my Explorer except the photo mats.


I popped up all the cuts from the Winter Wonderland cart. I also added some red gems to the Holy Berries, which you can't see in the picture.
I'm also entering this is the Lasting Memories challenge http://kcclayoutchallenges.blogspot.com.

Again I want to thank Diane for sharing your 2 page LO. 
Merry Christmas everyone.

Friday, December 19, 2014

Print & Cut

Merry Christmas everyone.  6 days till Christmas.  Yikes I still have a lot to do.  But that is the way it is at Christmas. Lots to do and you wonder if you will get done and then Christmas day comes and you thing WOW  I got everything done.

Things have been hectic for me this past few months starting with my SIL.  Doctors and Tests, But Thank God that she doesn't have cancer.  There is some problems, but nothing that can't be fixed.  Then my son-n-law almost died when he quit breathing and they couldn't incubate him.  He now has a trake, but he doesn't mind.  He has already gone back to work and does what he can. So I have so much to be Thankful for and so Blessed.  Everyone else is doing great.  My oldest Granddaughter
got married yesterday and also is going to be giving me a 2nd great-grandson due April 22, 2015.

Enough of the bad and the good news.  I have the Explorer and have been trying to learn how to use it. I've watched sooooo  many videos on how to's its not funny. Any way yesterday I decided to use the Print & Cut feature after watching a video from Mary from CARDSTV
 I love all her cards that she makes. Any way she made this card using a penquin that she had used the print and cut feature.  I wanted to do the Christmas Owl from CAC2 cart.
I had to calibrate my explorer at least 5 times before I got it right.  Below is the first two cuts that I did.  As you can see in the pictures that it was off.


The next two photos I changed the size and they came out perfect. Now I need to figure out how to make the colors  more pronounce.


Today I hope to make my Owl bigger for a card.
After the new year, I'm going to try using vinlyn and see if I can figure out How to do it.

Thanks for looking and all  comments will be very helpful.


Merry Christmas everyone

Sunday, November 2, 2014

Good evening fellow bloggers.  Hope everyone had a great weekend  and an even better Sunday.   It was nice here in Western Ky. We had a frost this morning but it was sunny and around 55 this afternoon.

I'm still playing around with my Explorer.  Its worth every penny and then some.  I'm still working on Halloween pages and will probably be doing this all week, to finish up..  Then it will be thanksgiving before I know it and time for thanksgiving pages.  Never ending, but lots and lots of fun.

Over on the Lasting Memories http://kcclayoutchallenges.blogspot.com  Challenge blog they are starting  new challenges for the month.  This week's challenge is to use just one photo.  I did this page for my great-niece's daughter.  She is 2 months old here in this one.
I'm also entering this in the FCCB http://fantabulouscricut.blogspot.com  "ANYTHING GOES"  Check out there challenge for this week.

Halloween was cut in CDS and welded.  I made a shadow for the back.  2014 is from Cricut Alphabet font. the background paper that I used was in my stash and I don't remember the name of it. 

thanks for stopping by and hope to see ya again.  Have a great Monday and remember check out Lasting Memories blog challenge for this week and come join in the fun.

Friday, October 31, 2014

Pumkins

Here is the second LO for Jaxson's first Halloween. The paper is from DCWV Freshly Picked.  The pumpkins are from Simply Charmed.   Halloween is from the CTMH Artiste cart.   I wanted to layer Halloween since it didn't have a layer.  I cut it out twice, one in orange and one in black.  I like the way it turned out.
                                  
This is the completed LO.  I didn't do any journaling, because I'm going to let Jaxson's mom write it herself.

I used yellow Liquid pearl on the eyes and on the one stem of the pumpkins to give them some pop.

Hope everyone has a fun and safe Halloween and your kids or grandkids got lots of candy.  Have a great weekend and I'll post some more LO's tomorrow of my great-niece.
www.hidinginmycraftroom.com I've added this to the challenge for this week.
Thanks for stopping by and taking a look .

Thursday, October 30, 2014

Jaxson's first Halloween

Wow three days in a row for posting. I guess that's a good thing.  I was playing around with my explorer and decided I wanted to make a scrap book of my great-nephew Jaxson.  Now mind you he is only  2 weeks old today and this was taken a few days ago. 
All or most of the cuts are from Happy Hauntings cart. The spider web is from Chic and Scarey cart.
The back ground paper is from DCWV  the "FRESHLY PICKED" paper stack. The font for Jaxson is cricut alphabet. I used the CDS and my Explorer to design how I wanted to do the LO.

For those of you that haven't checked out the Explorer videos I would highly recommend you to do so.  This machine is amazing.  I still have a lot to learn, but it was really fun doing my LO.  Thanks for looking and have a great and fun and safe Halloween and a great weekend.

Wednesday, October 29, 2014

HAPPY HALLOWEEN

Hope everyone had a great Wednesday.   It was a cool fall day here in Western Ky but pretty with the sun shining.  I'm still learning my Explorer.  Today I inserted images and sized them for a card.  I used the Chic and Scarey cart to cut the spider web out.  I loved the way it cut. Here is my card.

 Happy Halloween is on the inside. I typed in Happy Halloween in Cricut Design Space and different ones came up and I don't remember which cart this was from. I ungrouped it so I could cut the pumpkin by itself to have one for the front of the card.  The black cat is from some stickers that I got had M's.


This is the front of the card. I love the way the spider cuts with the explorer,  Cut it beautiful and no tares. The Halloween is from letters that I cut out and used this part instead of the letters.  I wanted to weld but for some reason it wouldn't let me.  This is one of the things I will have to learn to do.  So back to watching videos on how to do it.

Thanks for stopping by and taking a look at my card.  Happy Halloween everyone.

Tuesday, October 28, 2014

HAPPY HALLOWEEN

Its been awhile since I posted anything on my blog. I haven't been crafting lately because I've been too busy watching videos on the EXPLORER which I purchased on the last launch form HSN. I've had it now for about three weeks and I finally did my first cut with it.  I did the Thank you card that was Make it for everyone to make sure that their Explorer was working.  Which is was.  I also cut this from Simply Scare Crows.  Here is what I did.
 
 
I have a lot to learn but at least now I know that the EXPLORER isn't going to bite me.  I was a little overwhelm at first.  I see different people using vinyal  to make ornaments right now, but I'm not nearly as ready to do that YET.  More videos to watch.

I also  Made these Frankie Box  that ANGIE   from  www.mychicnscratch.com had made.  She does the 12 days of Halloween and she also does Frankie and tries to change him every year.  I love making him. Thank you Angie for the video on how to make him.
Isn't  he cute  I made a total of 9 of these.


I also made a Halloween card and got the inspiration from a person on u-tube. Her u-tube name is Babytweetums.  I really enjoyed watching her videos on making this card. 

Thanks for looking and comments are appreciated.  Have a great week and have a safe and fun Halloween.

Tuesday, September 9, 2014

Screen Divider Card.

Its been awhile since I posted any thing.  It was back in July that I posted.  Wow  not good.  I really haven't been doing much.  My crafting mojo went south.  I think everyone of us has had that happen.  I see things that I want to do and I have the material to do it, its just the idea of doing it.  I did do one project for a baby shower that I will be going to Sept 20th.

Now to get back to what I'm going to post.  I have been seeing these screen divider cards that everyone is making now.   Brenda (Friendscraftingwithfriends)  had made this type of card and she gave me a link to watch a video on making this.  I didn't have the SU punch for making the legs so I used a MS punch instead.  I think it came out pretty good.  what do you think?

The front is a pstter piece that I cut out with a scallop punch from SU.  The monkey is from CAC cart. The font is from Cricut fond and basics from the CCR  I wanted to cut out Samantha instead of Sam but it didn't work, even trying to make it smaller.  Everyone calls her Sam anyway so I thought this would work.

Thanks again Brenda for the inspiration on making this card.   TY  HUGSSSS  my friend.

Monday, July 21, 2014

BLOG HOPS AND MADISON

Good Morning crafters.  Hope everyone had a great weekend and got to enjoy the weather with family and friends and got some quality ME time and some crafting done.
I was able to do some blog hops this weekend.  I did Laurie's  http://www.hidinginmycraftroom.com blog hop Christmas In July. 200th post  http://kcclayoutchallenges.blogspot.com.  The blog hop will go until the end of the month.  The challenge for this week is BUTTONS.  The challenges also go on all month, so you still have time to check out the hop and the challenges if you get a chance and want to get some LO's done.


Thanks for looking and comments are so appreciated.  Have a good day and go check out the blogs.

Friday, July 18, 2014

My Great-niece

Happy Friday to my fellow crafters and bloggers.  It has been a while since my last blog.  I'm still working on my embossing folder storage.  Last week I got the autoship from HSN on the next set of Anna Griffin folders.  They are so pretty and I can't wait to use them.
The weather here has been spring like to almost fall like.  Yesterday morning we broke the low for July 17th by two degrees.  Very unusual for Western Kentucky.  So I've been spending some quality time outside with my grandson and great-grandson.

They were playing trucks and having a good time.  Colton is on the left and Adrian on the right.
The young lady standing behind them is my youngest granddaughter.  She is Adrian's mom.  She will be 20 tomorrow.

The LO that I made is my great-niece Madison.  She turned a year old on May 26th. This is her Easter /spring pictures.  Has you can see in the pictures that she was trying to figure out how she could get out of the chair with out getting caught.  Wasn't going to happen.

I will post the picture then I will tell you what I used. I'm also going to enter this in the Lasting Memories Lo challenge for this week. If you haven't had a chance to check out there new challenges for the whole month go and check out there blog  http://kcclayoutchallenges.blogspot.com.  They do a month long challenge with each week being different theme and you can take all month top enter.  You can do one or all of the challenges during the month.   I chose this week's challenge  "SKETCH".  There is a sketch that you are suppose to follow.


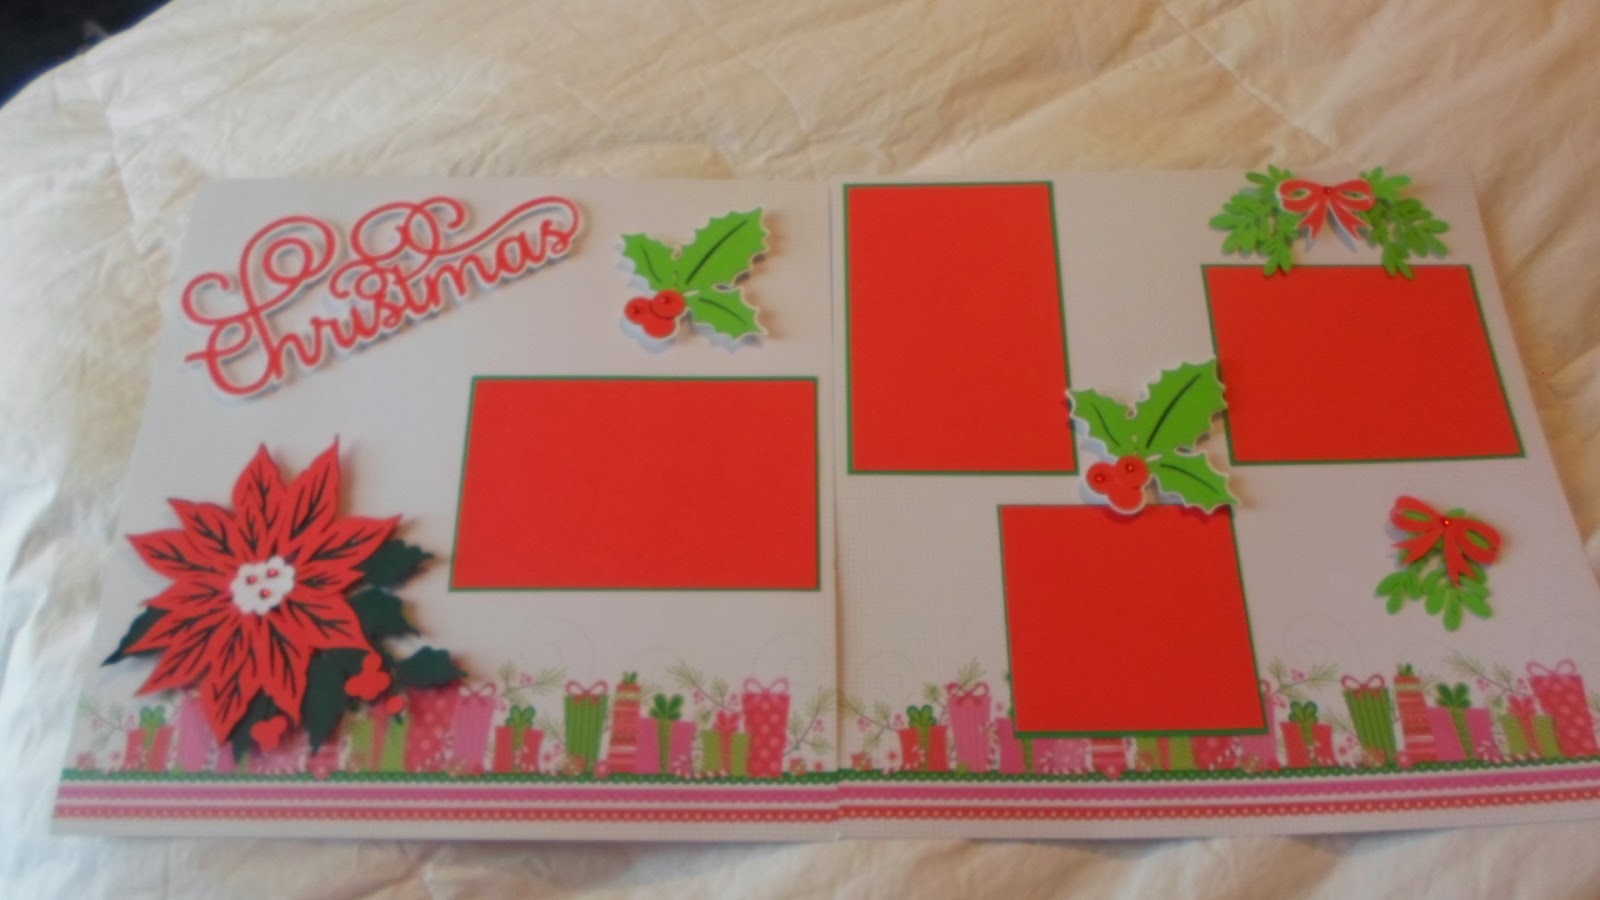
This is my take on the sketch.


The base page is bazzil cardstock.  The yellow flowers are from Michaels and they were in my stash.
I used a doily that I had also got from M's.  I matted the pictures twice with colors in her dress.


 The fun, smile, happy, laugh is ribbon that I had gotten from someone so I don't know where it was gotten.

The font that I used is from Kate's ABC's. I welded her name in the ccr and used my mini for this.
I cut Madison out using white card stock and the hot pink for underneath and then staggered them to give some depth to her name.  I also popped dotted it.

 
I used Lace on the side and also some round buttons shaped like flowers and some Bakers Twine in different colors. The flowers at the top and bottom are fabric flowers that I had gotten at a garage sale.  These were perfect for embellishing the ends of the lace.  The journaling tag is  from Stampin-Up tag topper punch.  I like using this and punching both ends.   I will leave the tag blank so my niece can write what she wants here.
 
Thanks for looking and all comments will be appreciated.   Have a great weekend and will see y'all later

Thursday, June 26, 2014

Embossing Folder Storage

Wow another post today.  Well after today it will be a while because I won't have access to my com.

I am now on autoship for Anna Griffin embossing folders, so I'm getting quiet a few of them.  I needed a place to store the ones that I have now.  I went u-tube hunting for a video on making folders to store them in and I came across Sharon Bennett's  craftandcreativeideas.BlogSpot.com where she had made these file folders out of actual folders to her the A2 embossing folders. Here is what I made and what I stored them in.


Thanks Sharon for the Idea.  Now I have to change the measurements for my 5x7's  I have lots of them.

Thanks for looking and have a great rest of the day and a great weekend.

Wednesday, June 25, 2014

Garden Window Cards 2nd post

 Good morning again bloggers.   This is my second post for today.  On March 25th on HSN for National Scrapbooking month, Anna Griffin had her Garden Window Cardmaking kit that she had created for the show.  I fell in love with the ease and the gorgeous cards that you could make. 
This kit comes with everything that you need to make gorgeous cards the Anna Griffin way. This kit makes 48 different cards.  There is also a small booklet with cards that can be made with the kit. So far I have made five of the cards. 4 of them I copied the same cards that she showed in the booklet.  The fifth one I did myself with her embellishments. The flourishment that I used is from her die cut.  Below is the one I used for my last card.

Here is the card that I made using this die cut and using the embellishments.

I'm pretty pleased with the way this one came out.
 

During the show I also bought the embossing folders which I have used on the 5 cards. I'm on the autoship so I will be receiving the next set in the folders soon I think.

Here are the cards that I have done so far.


As you can see everything that I used came in the box including the insert for the sentiment.

Here is a picture of everything that was in it.  I want to warn you this last part is pic heavy but this is the only way to show you.


Thanks for looking and staying with me for all my pics.  Please check put on u-tube the March 25th program on HSN with Anna Griffin and see what all she had to show on this amazing  Kit. Also check out her blog. www.annagriffin.com 

Baby Blocks First post

Good morning bloggers. Its been awhile since I've posted anything on my blog.  I have two different post today. The last time I blog I said that I was working on a project from Kathy Orta.  The name of the file is A YEAR IN REVIEW- BABY. 
 Here is what I did.  I had a lot of fun making this.  My great-niece and her DH  doesn't want to know what they are having until the baby is born. So because of this I decided to go with all colors.  Most of the PP is from different stacks from DCWV.  The ribbon for pulling the block open is from my stash. Everything is made with medium chipboard that I had purchased from Amazon.com.  The knobs and the feet for the drawer is from Walmart.


                                           This is what the finished project looked like.


                                           Below is the blocks opened to see what is inside.


       Below shows the hinged box frames for the mini albums.  Each block holds 4 mini albums. 


My great-niece and her DH really liked it.  Like I said I really enjoyed doing this for them. 
Thanks for looking and comments are very welcome.
Have a great day and for those that are in the heat and humidity stay cool and do some me self projects like crafting.